Just posting to say that I am still active on this blog, I just have been really pretty busy with projects and school. Over the summer, I should have some free time to update everything, including adding some shots of a few new projects I've finished... wink, wink, nudge nudge. :)

The cold weather hasn't allowed much of a chance for messy projects, most of which I would do outside. The shield is just a little project to keep me busy during the extremely snowy winter. The materials are pretty much the same as the Millennium Puzzle I did earlier, but the colors were made with Sharpie markers instead of spray paint. I tried spray painting in chilly weather once, and the paint cracked and scrunched up in an instant, it didn't help I was painting plastic. I'm not going to try that again anytime soon! 
And here is a wonderful picture of the shield in really harsh light so you can see all the beautiful imperfections! I definitely need to work on cleaning up my lines, you can see that the Sharpie is shining on top of the hot glue everywhere. I got overzealous with the Sharpies and outlined the brace's triangle divots. The yellow from the triforce is actually a highlighter, I just used whatever I had on my desk. Coloring it was great though! It was a nice change from the hot glue burns! 
The back was last for this project. I started off with just a silhouette of the shield out of the corrugated cardboard and filled out the front. I hadn't even given a thought to the back. So, when I did, I cut out the entire back and pushed it inwards until I had half an inch of a cavity to add the braces in varied heights. The handle and strap were quickly glued on afterwards. Deciding to add the back was a decision I am happy I made, it looks much better with both sides completely fleshed out. 
I know I promised more in-progress pictures for projects, but since it was just a boredom project I just thought that the final pictures and a brief description was better. 
Finally, here's the back in lighting I thought showed it's better qualities. Thanks for reading!
Dynasty Warriors is filled with amazing weapons, and I got to build Sun Quan's most detailed sword, The Emperor's Might! This sword is quite a monster, it's around four and a half feet long, a foot wide and it weighs around ten pounds. It is constructed from birch wood, vinyl material (for the handle), various materials for the tassel at the end, and balsa wood for the details. 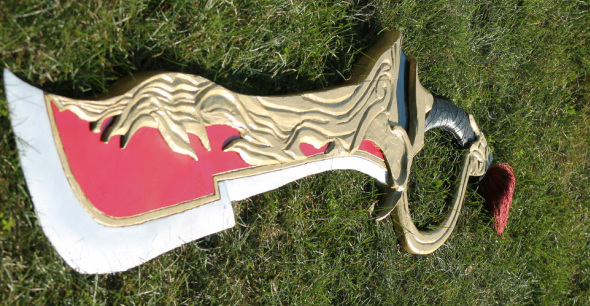
If you want to read about the construction process, please look at it's own little blog page!
The Millennium Puzzle was a project that really started the love for making props for me, I count it as the first official prop that I have ever made. It's constructed out of a thick card-stock with clay details for the loop and the eye, the chain was bought. The finished Puzzle is around seven inches tall from tip to the top of the loop and seven inches wide at the widest point. The Puzzle itself was around a pound, but with the chain it may be around three or four. Sadly, all of my pictures for this project, the Millennium Ring and the Millennium Rod were all on my slider phone that up and died. I can't get to those pictures, but I will try to explain the process as well as I can. For all of my newer projects, I promise to take more in-progress pictures! 
If you want to read about the process creating it, please look at it's own little blog page!
Hello! Thank you for checking out my website! For my first upload, I have the Millennium Rod. It's my third project in regard to YuGiOh's Millennium Items, the first being the Millennium Puzzle, and second being the Millennium Ring. It was made for a friend's birthday and it weighs circa three pounds. The rod is constructed from a plastic Christmas ornament, clay, a wooden dowel (for the hidden dagger), a hollow, plastic tube that was originally a ninja dart blower from the Dollar Store, foam-board and Spackle. It isn't as smooth as I wish it would be, so there's something to work on in the future! 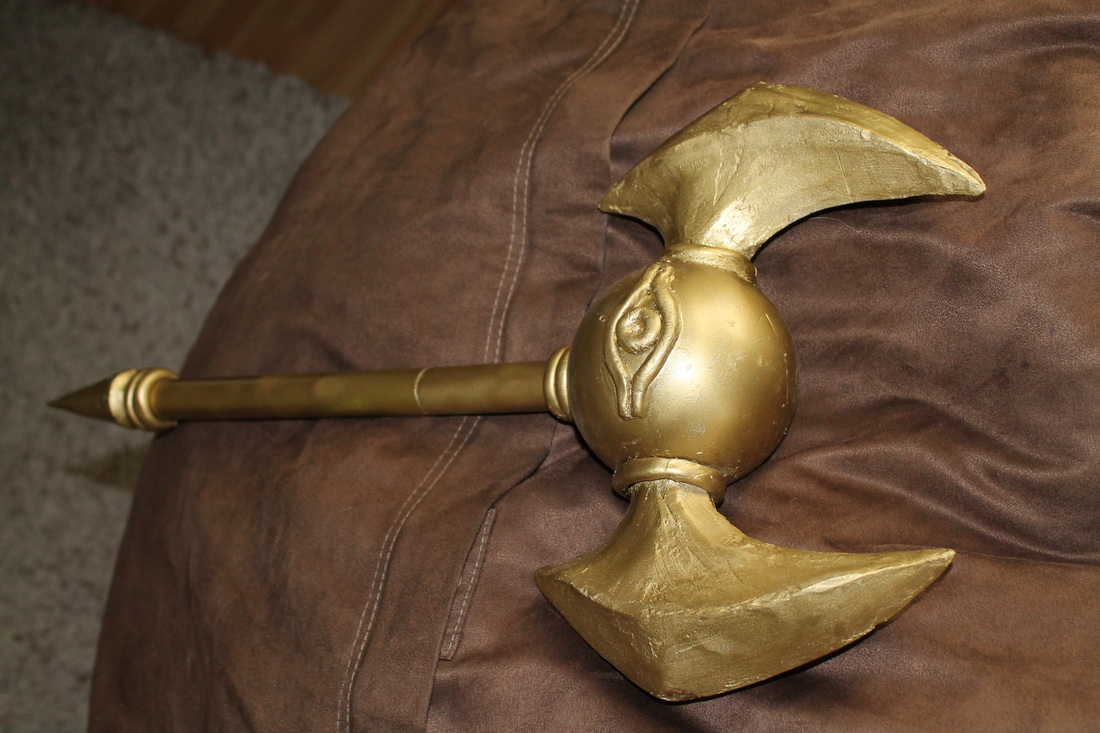 It's construction was definitely a process, but since my slider phone died on me (may it rest in peace) I have no progress photos to show. The top was where I began, I punctured holes in the ornament for the staff and the two prongs. Making the silhouette of the prongs on a sheet of foam-board and inserting them into the two openings on the ornament, the shape was built up with other sheets of foam-board layered on top and then covered with Spackle...three times. I still think it needs another coat. Onward and upward, the ninja dart blower was cut to size, and inserted into the ornament as well, the other half of the blower was fitted with the clay, pointy end-piece and set aside. 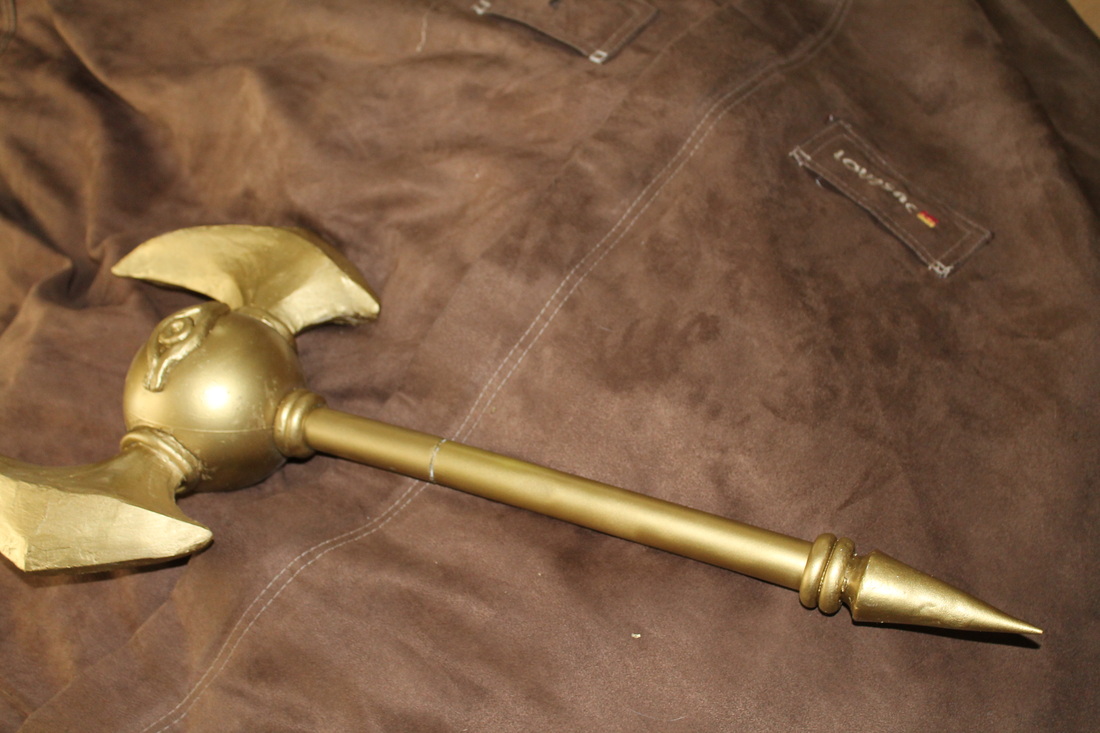 I made a cylindrical piece of clay that snugly fit inside the tube so that the two cylinders would fit together and come apart, and also not just fall apart thanks to gravity. The dagger was carved out of the earlier-mentioned wooden dowel and attached to the clay insert.The ring details and eye were made out of air-dry clay, and the whole thing was painted, and then clear-coated. Tah-Dah! 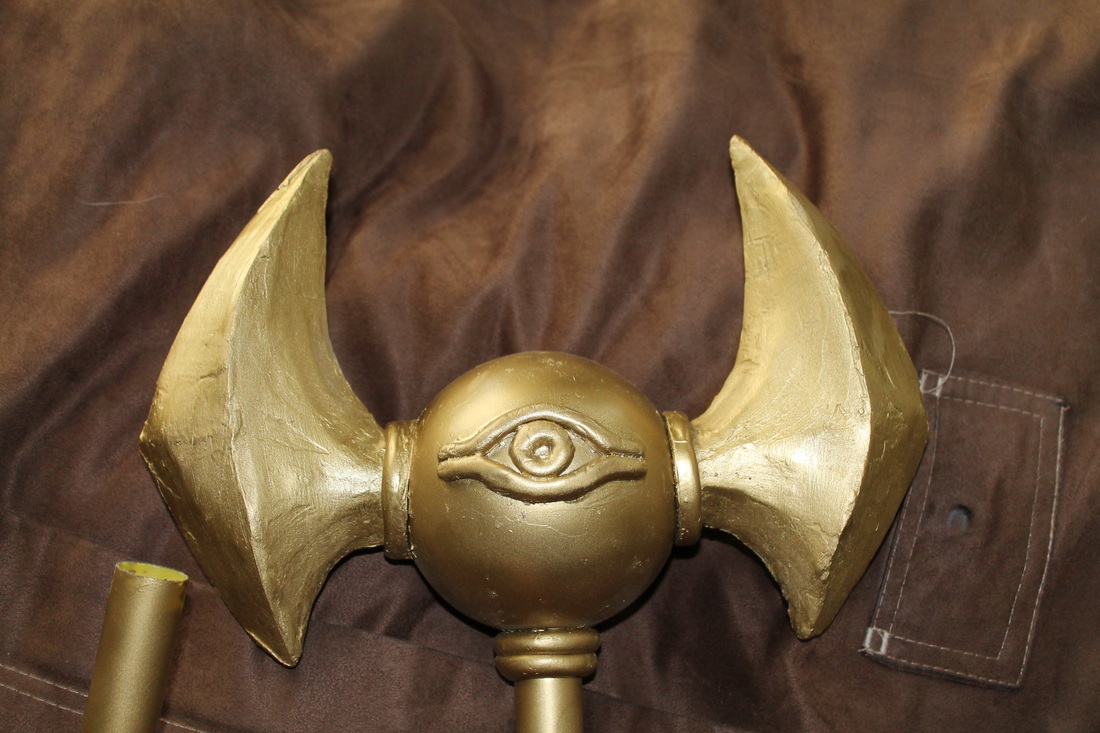 Thanks for reading! I really appreciate it! I like how the Millennium Rod turned out for me, but I know there's always room for improvement, as I've said before, onward and upwards!
|
AuthorHello! Welcome to the Jack-of-All-Props website! Please feel free to peruse at your leisure! Archives
May 2015
Categories |
 RSS Feed
